MW 2019 Krueger Executions
 (2).jpg)
![[4K] MWII Jeans Soap Kit for MP Male](https://img.gta5-mods.com/q75-w500-h333-cfill/images/mwii-jeans-soap-kit-for-mp-male/644529-Cover.jpg "[4K] MWII Jeans Soap Kit for MP Male")
![MW 2019 Roze - "Rook" Skin [Add-On Ped]](https://img.gta5-mods.com/q75-w500-h333-cfill/images/mw-2019-roze-rook-skin-add-on-ped/4ad039-Cover.jpg "MW 2019 Roze - \"Rook\" Skin [Add-On Ped]")


480
32
480
32
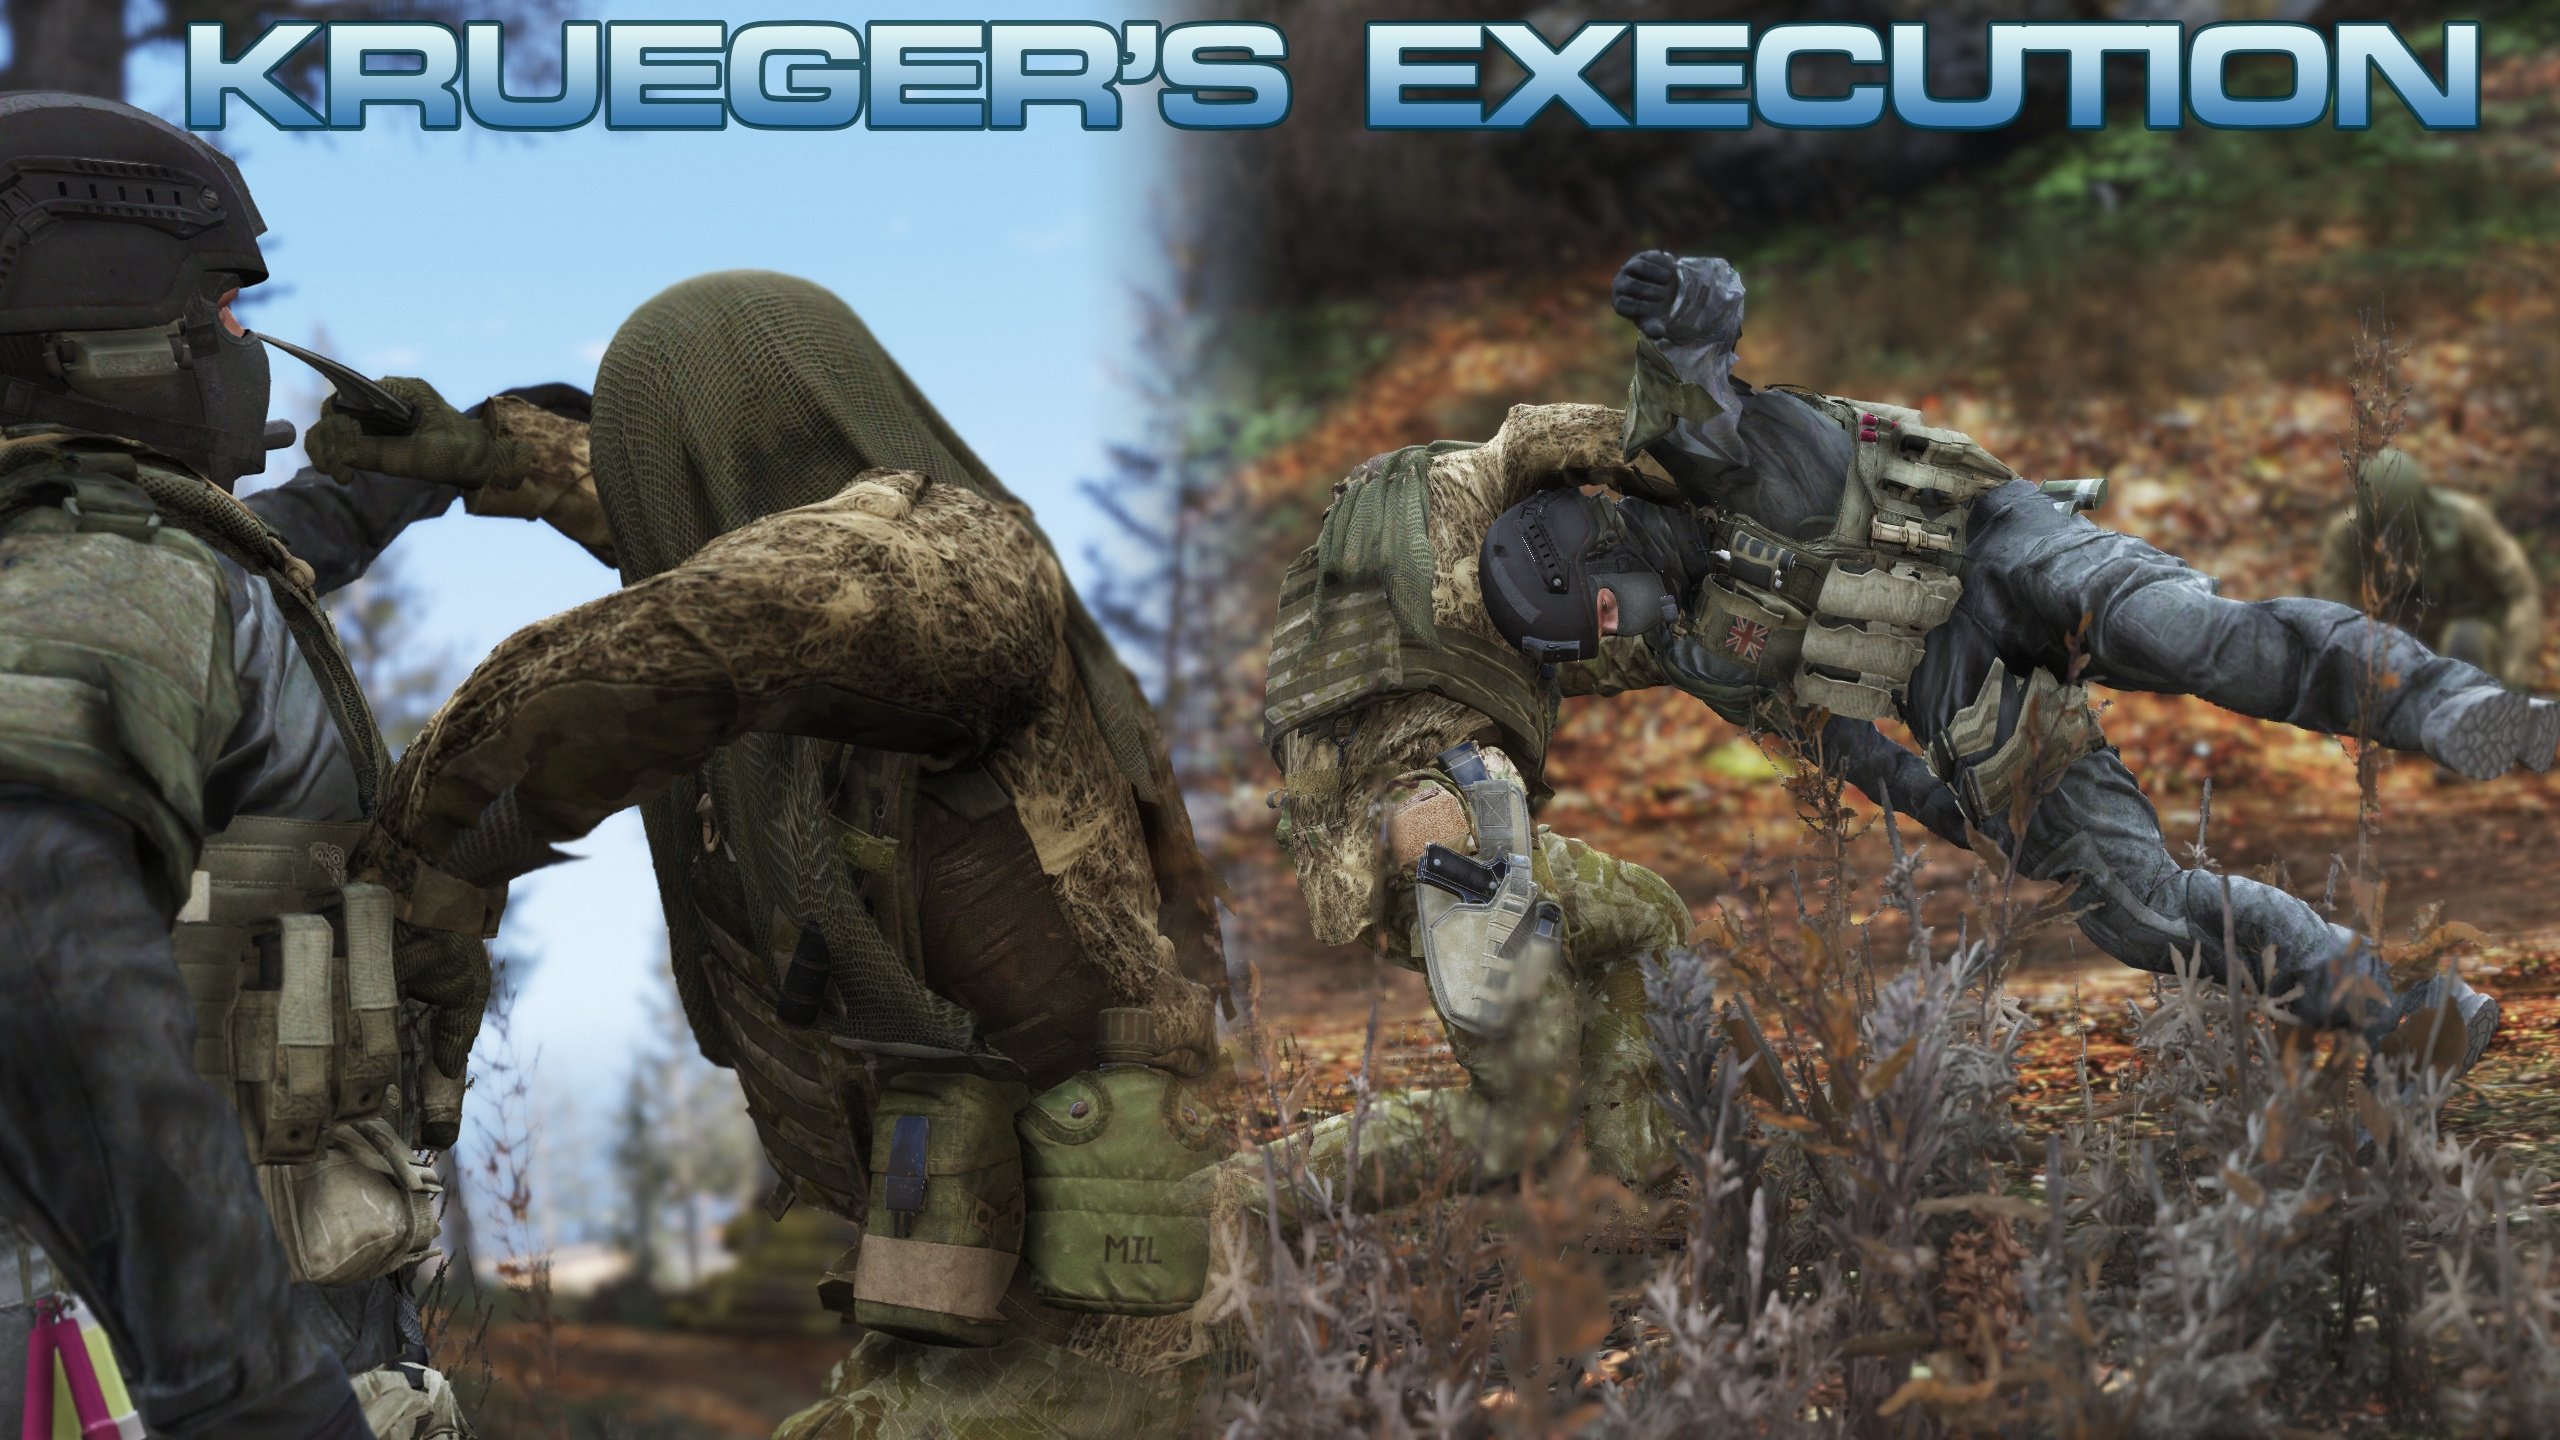
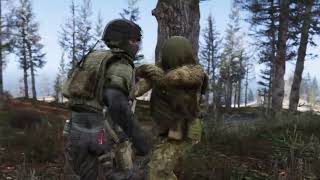
Perform a takedown like the master of the karambit himself.
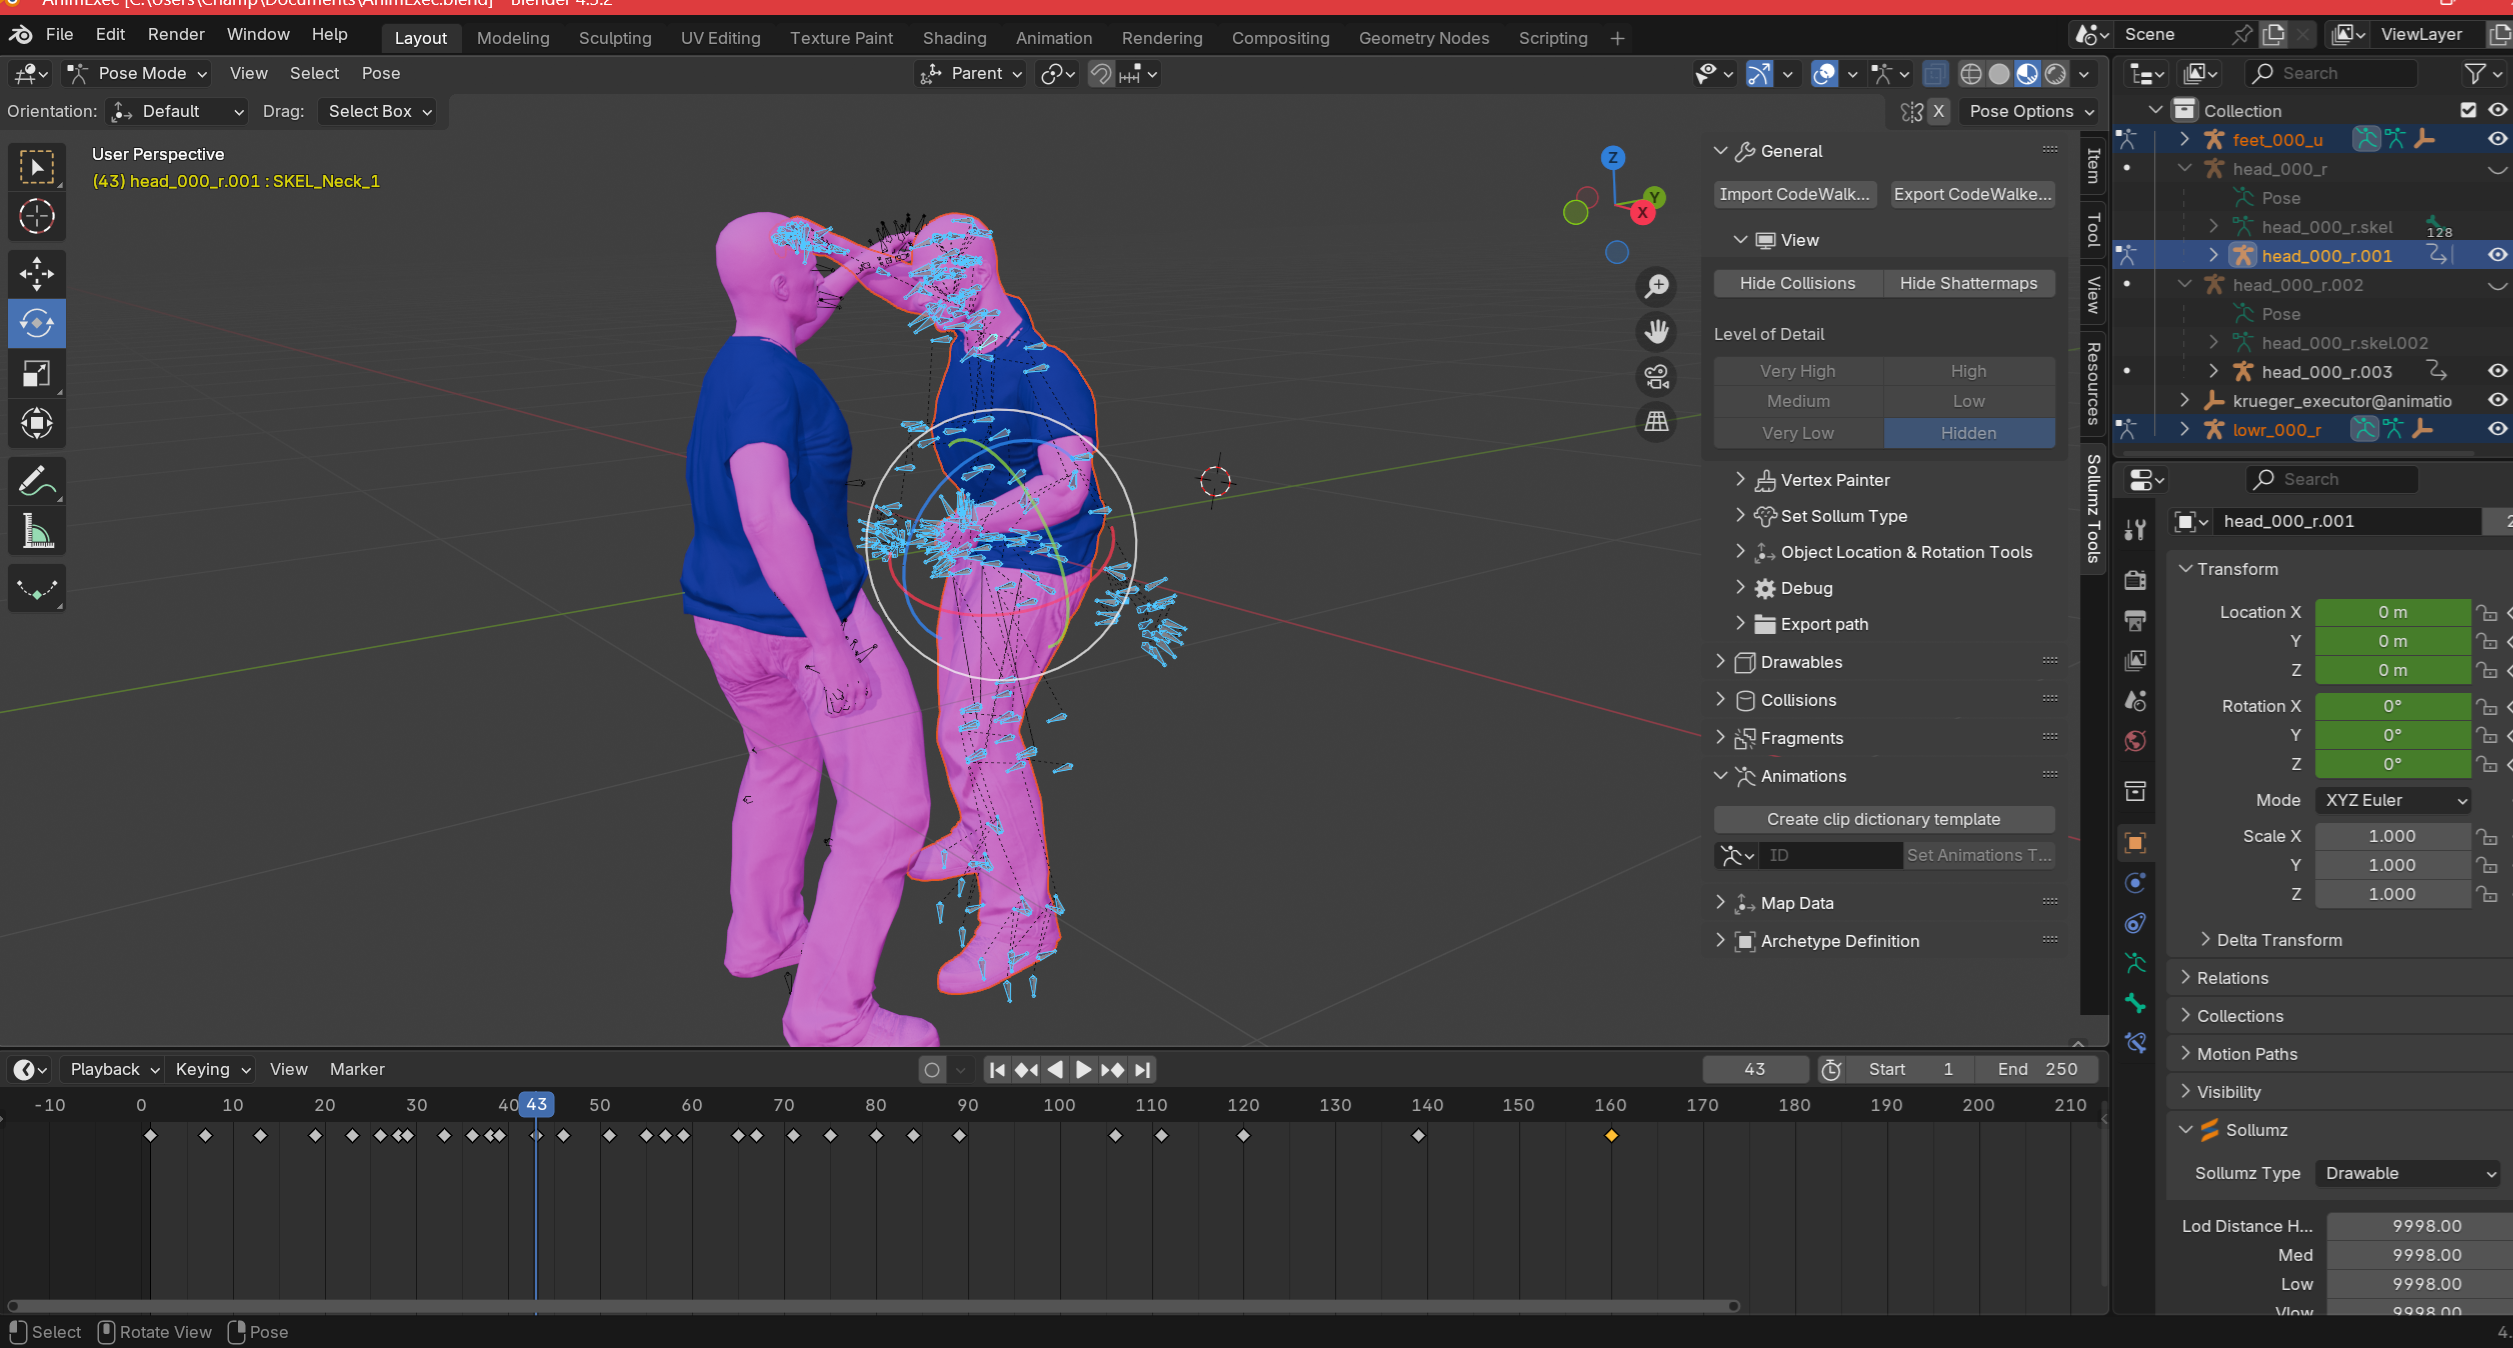
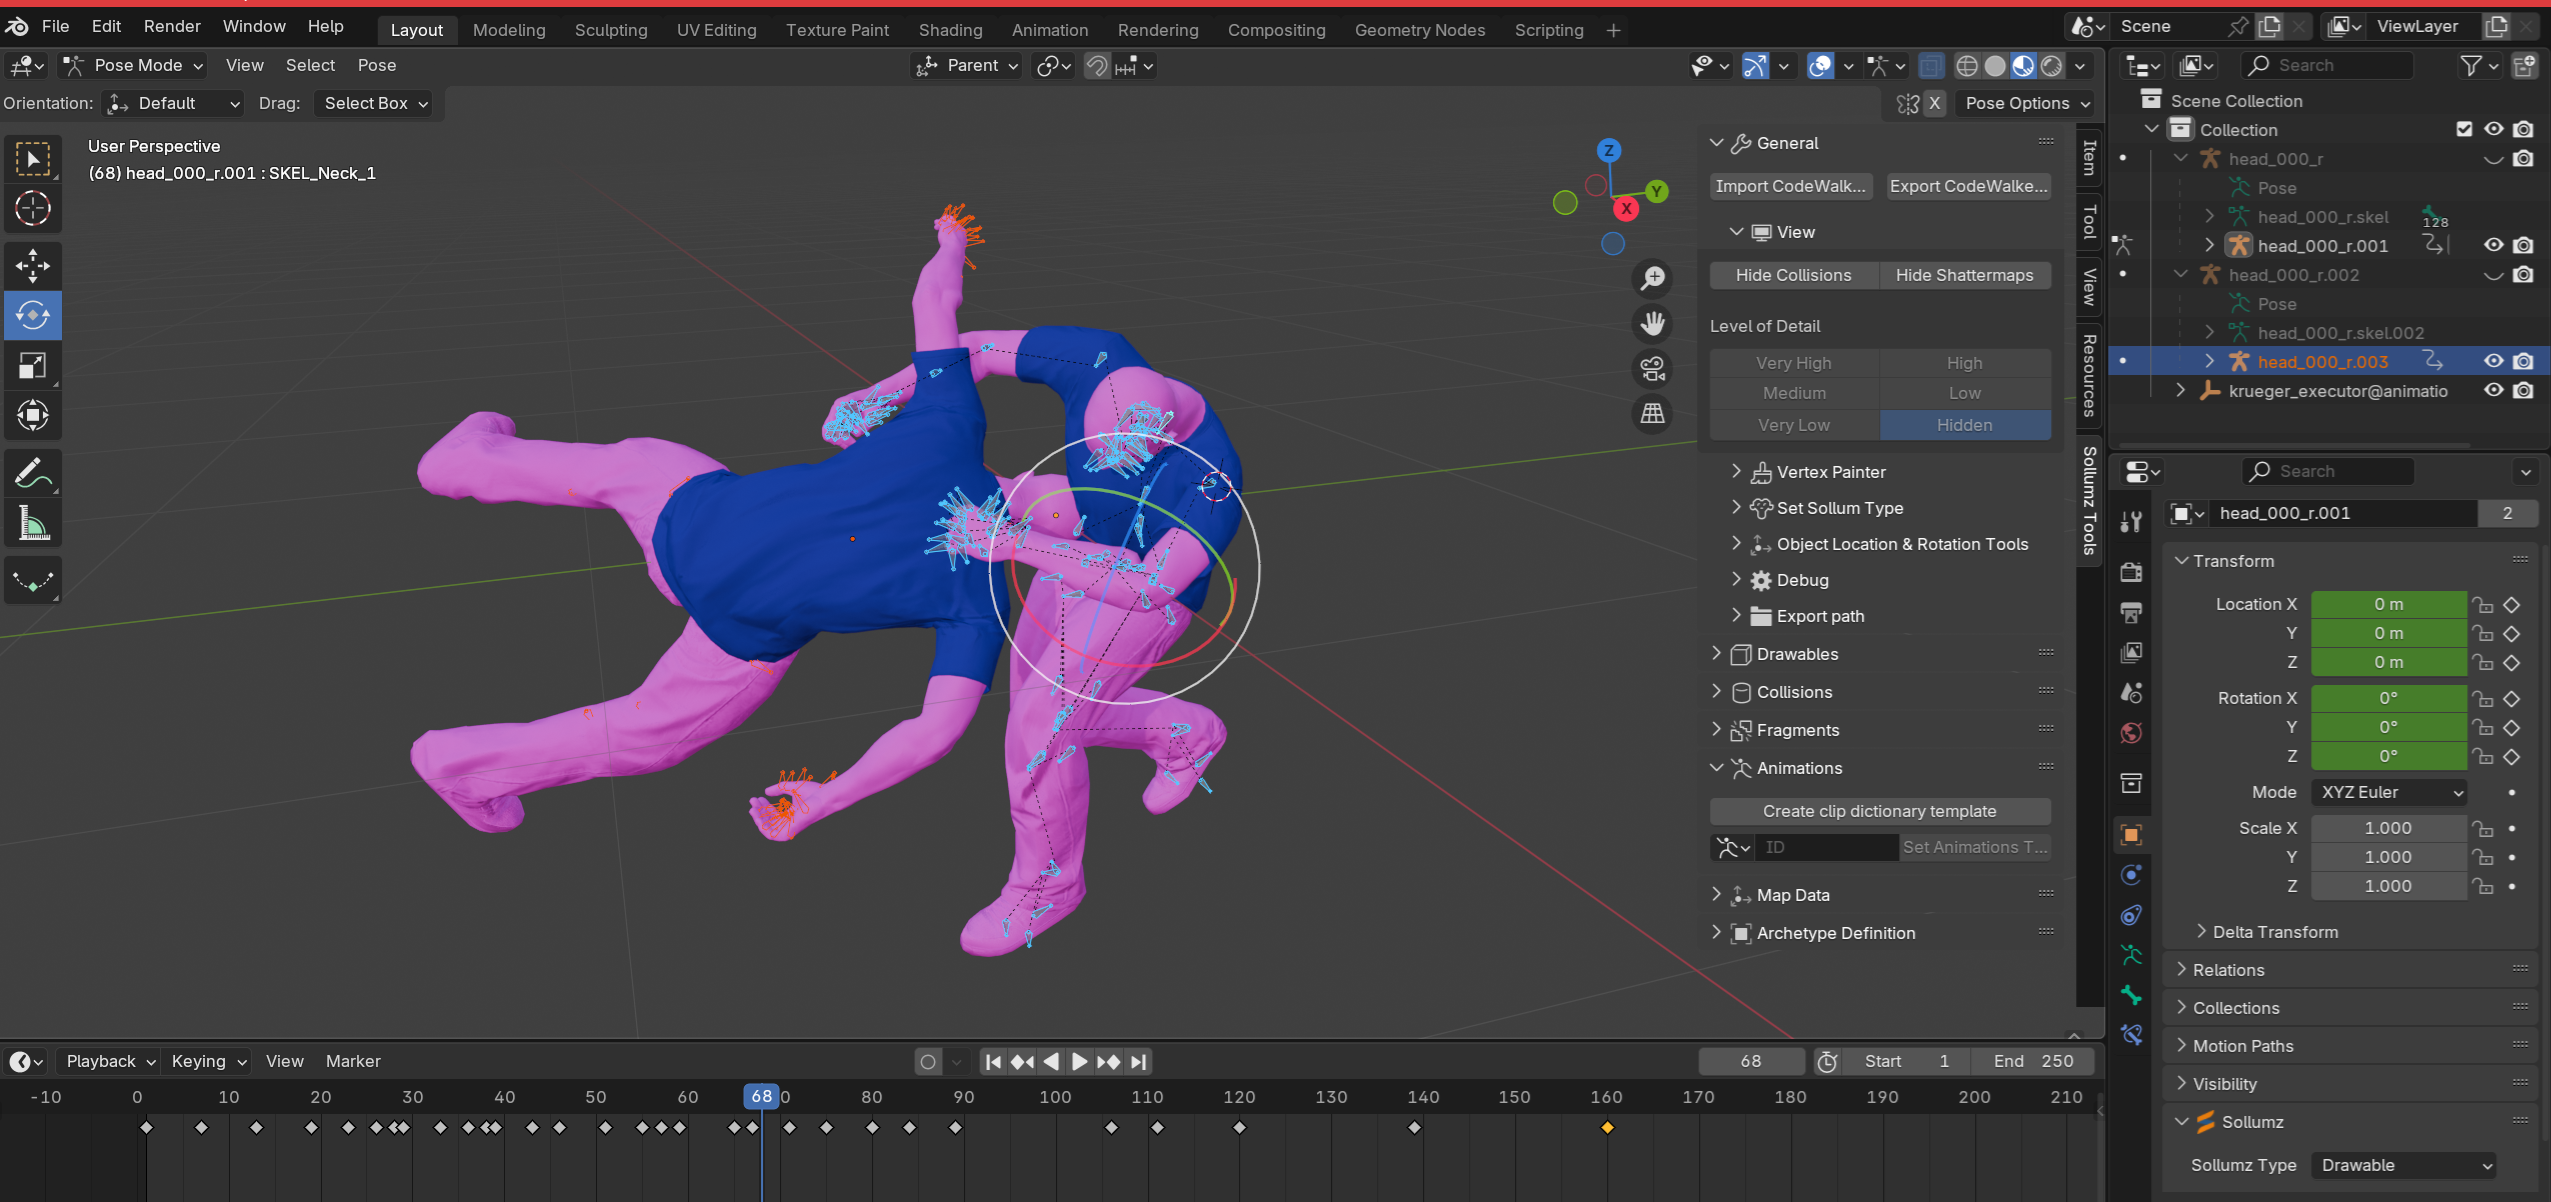
Watch the attached video for how to position your ped models!
This is my from-scratch recreation of Krueger's default execution from Modern Warfare 2019. I analysed his limb movements and overall animation speed to try and emulate his finishing move as precisely as possible; however, I am by no means a professional animator, so this is not a perfect 1:1 replication.
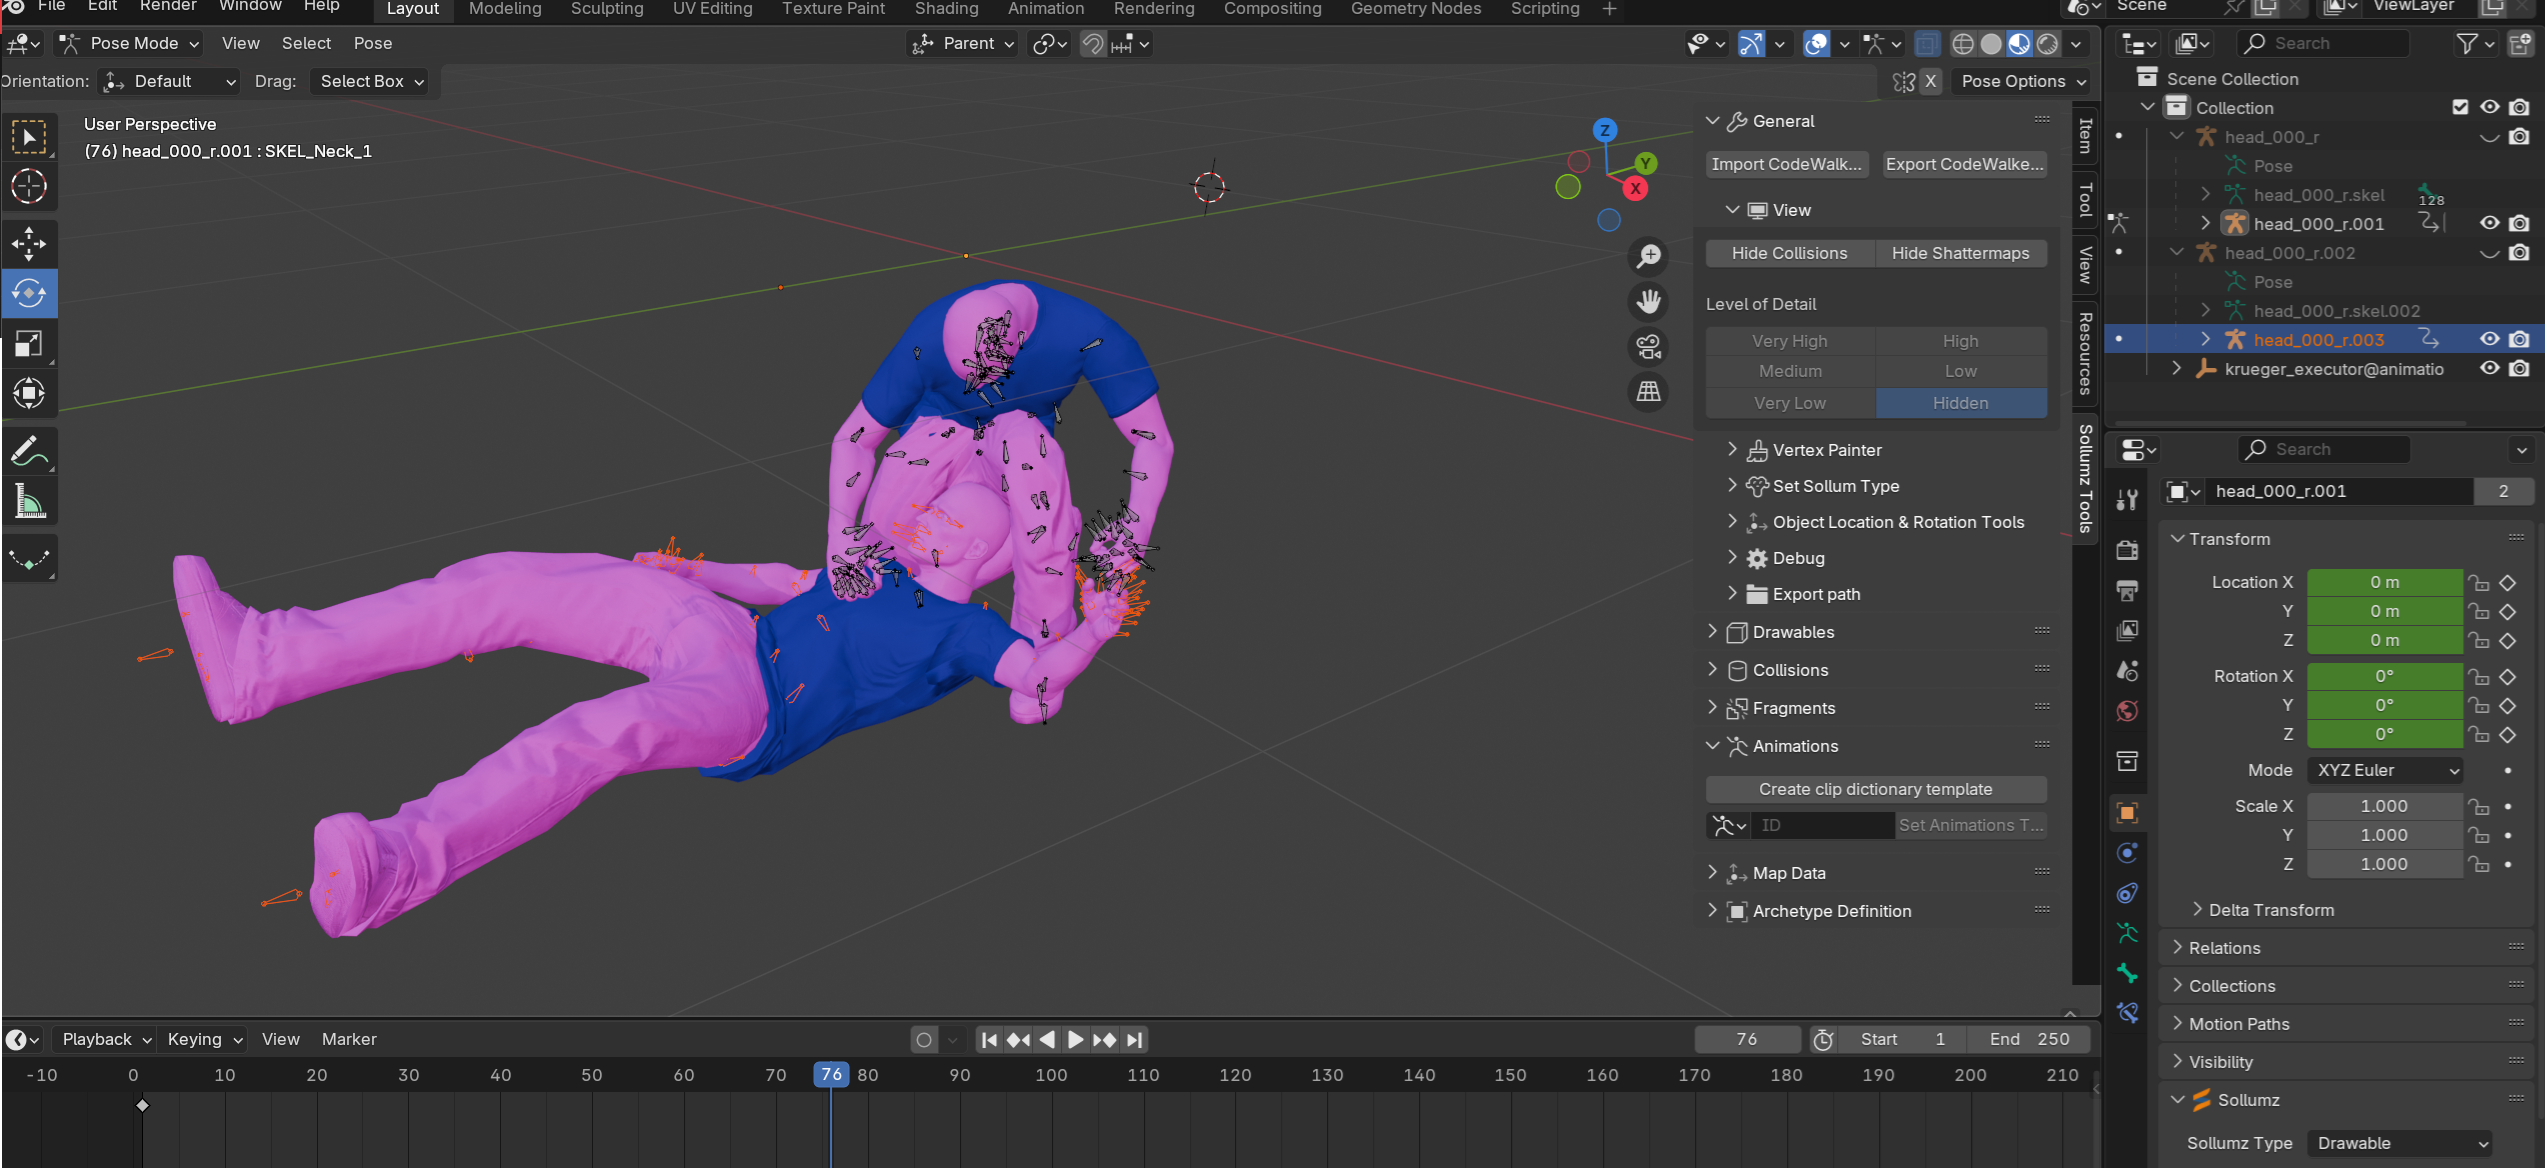
This pack contains two separate animations: one for the victim being executed, and the other for the executor.
You will need to use either the "Edit Multiple Entities Simultaneously" menu and set each ped to have the "Play Animation" task in Menyoo or the Scene Director mod to sync the animations. Both animations are exactly 160 frames, so all you need to do is sync their start times.
BUGS:
- These animations are not meant for first-person use
- The animations will face the opposite way of the direction you were initially facing in; very minor
- These animations are rigged for the mp_m_freemode_01 skeleton; using these on other peds may result in artifacting or stretched geometry; nonexistent, very minor, or noticeable depending on the ped
HOW TO INSTALL:
If you've never installed animations before, relax — stay with me here, as it is a rather simple process:
1.) First, ensure you have Menyoo, as it is required. You can install that here:
https://www.gta5-mods.com/scripts/menyoo-pc-sp
2.) Then, simply install this mod here; do not forget to add the dlcpack line to the dlclist.xml:
https://www.gta5-mods.com/misc/custom-animations-add-on-customanims#description_tab
3.) Once you have that installed, download my pack using the green button on the left of this page.
Unzip the download and you will find two .ycd files and a "CopyToFavouriteAnims.xml" XML file.
4.) In OpenIV, go to this path:
mods \ update \ x64 \ dlcpacks \ customanims \ dlc.rpf \ x64 \ anim \ ingame
You will see clip_amb@rpf and clip_mp_.rpf.
Open "clip_mp_.rpf" and drag the .ycd files in there.
If, in the end for some reason, these animations do not appear for you in-game, put the .ycd's in clip_amb@rpf afterwards; the creator of customanims suggests this as a solution, though I programmed the anims to work for clip_mp_.rpf.
5.) Now, open up your game's directory and navigate to your "menyooStuff" folder.
You will see a file named "FavouriteAnims."
Single-click it, then right click and select "Edit in [Notepad/text software]."
6.) With that .xml open, open my "Copy to FavouriteAnims.xml" XML file and transfer the two lines of script from it to your FavouriteAnims window, making sure you keep the spacings and format consistent when you paste them.
If any line is against the left side of the window, hit the "Tab" key at the beginning of it to properly align it.
7.) In the top left, click "File," then "Save."
Do not just close out with X!
8.) You're now sorted.
Launch the game, open Menyoo, navigate to the "Animations" tab and go into your favourites. You should find the two animations waiting for you there.
CREDITS:
- Animations manually done by myself
- blender for being the software used
Watch the attached video for how to position your ped models!
This is my from-scratch recreation of Krueger's default execution from Modern Warfare 2019. I analysed his limb movements and overall animation speed to try and emulate his finishing move as precisely as possible; however, I am by no means a professional animator, so this is not a perfect 1:1 replication.
This pack contains two separate animations: one for the victim being executed, and the other for the executor.
You will need to use either the "Edit Multiple Entities Simultaneously" menu and set each ped to have the "Play Animation" task in Menyoo or the Scene Director mod to sync the animations. Both animations are exactly 160 frames, so all you need to do is sync their start times.
BUGS:
- These animations are not meant for first-person use
- The animations will face the opposite way of the direction you were initially facing in; very minor
- These animations are rigged for the mp_m_freemode_01 skeleton; using these on other peds may result in artifacting or stretched geometry; nonexistent, very minor, or noticeable depending on the ped
HOW TO INSTALL:
If you've never installed animations before, relax — stay with me here, as it is a rather simple process:
1.) First, ensure you have Menyoo, as it is required. You can install that here:
https://www.gta5-mods.com/scripts/menyoo-pc-sp
2.) Then, simply install this mod here; do not forget to add the dlcpack line to the dlclist.xml:
https://www.gta5-mods.com/misc/custom-animations-add-on-customanims#description_tab
3.) Once you have that installed, download my pack using the green button on the left of this page.
Unzip the download and you will find two .ycd files and a "CopyToFavouriteAnims.xml" XML file.
4.) In OpenIV, go to this path:
mods \ update \ x64 \ dlcpacks \ customanims \ dlc.rpf \ x64 \ anim \ ingame
You will see clip_amb@rpf and clip_mp_.rpf.
Open "clip_mp_.rpf" and drag the .ycd files in there.
If, in the end for some reason, these animations do not appear for you in-game, put the .ycd's in clip_amb@rpf afterwards; the creator of customanims suggests this as a solution, though I programmed the anims to work for clip_mp_.rpf.
5.) Now, open up your game's directory and navigate to your "menyooStuff" folder.
You will see a file named "FavouriteAnims."
Single-click it, then right click and select "Edit in [Notepad/text software]."
6.) With that .xml open, open my "Copy to FavouriteAnims.xml" XML file and transfer the two lines of script from it to your FavouriteAnims window, making sure you keep the spacings and format consistent when you paste them.
If any line is against the left side of the window, hit the "Tab" key at the beginning of it to properly align it.
7.) In the top left, click "File," then "Save."
Do not just close out with X!
8.) You're now sorted.
Launch the game, open Menyoo, navigate to the "Animations" tab and go into your favourites. You should find the two animations waiting for you there.
CREDITS:
- Animations manually done by myself
- blender for being the software used
Первая загрузка: 1 марта 2025
Последнее обновление: 1 марта 2025
Последнее скачивание: 6 часов назад
20 комментариев
Perform a takedown like the master of the karambit himself.
Watch the attached video for how to position your ped models!
This is my from-scratch recreation of Krueger's default execution from Modern Warfare 2019. I analysed his limb movements and overall animation speed to try and emulate his finishing move as precisely as possible; however, I am by no means a professional animator, so this is not a perfect 1:1 replication.
This pack contains two separate animations: one for the victim being executed, and the other for the executor.
You will need to use either the "Edit Multiple Entities Simultaneously" menu and set each ped to have the "Play Animation" task in Menyoo or the Scene Director mod to sync the animations. Both animations are exactly 160 frames, so all you need to do is sync their start times.
BUGS:
- These animations are not meant for first-person use
- The animations will face the opposite way of the direction you were initially facing in; very minor
- These animations are rigged for the mp_m_freemode_01 skeleton; using these on other peds may result in artifacting or stretched geometry; nonexistent, very minor, or noticeable depending on the ped
HOW TO INSTALL:
If you've never installed animations before, relax — stay with me here, as it is a rather simple process:
1.) First, ensure you have Menyoo, as it is required. You can install that here:
https://www.gta5-mods.com/scripts/menyoo-pc-sp
2.) Then, simply install this mod here; do not forget to add the dlcpack line to the dlclist.xml:
https://www.gta5-mods.com/misc/custom-animations-add-on-customanims#description_tab
3.) Once you have that installed, download my pack using the green button on the left of this page.
Unzip the download and you will find two .ycd files and a "CopyToFavouriteAnims.xml" XML file.
4.) In OpenIV, go to this path:
mods \ update \ x64 \ dlcpacks \ customanims \ dlc.rpf \ x64 \ anim \ ingame
You will see clip_amb@rpf and clip_mp_.rpf.
Open "clip_mp_.rpf" and drag the .ycd files in there.
If, in the end for some reason, these animations do not appear for you in-game, put the .ycd's in clip_amb@rpf afterwards; the creator of customanims suggests this as a solution, though I programmed the anims to work for clip_mp_.rpf.
5.) Now, open up your game's directory and navigate to your "menyooStuff" folder.
You will see a file named "FavouriteAnims."
Single-click it, then right click and select "Edit in [Notepad/text software]."
6.) With that .xml open, open my "Copy to FavouriteAnims.xml" XML file and transfer the two lines of script from it to your FavouriteAnims window, making sure you keep the spacings and format consistent when you paste them.
If any line is against the left side of the window, hit the "Tab" key at the beginning of it to properly align it.
7.) In the top left, click "File," then "Save."
Do not just close out with X!
8.) You're now sorted.
Launch the game, open Menyoo, navigate to the "Animations" tab and go into your favourites. You should find the two animations waiting for you there.
CREDITS:
- Animations manually done by myself
- blender for being the software used
Первая загрузка: 1 марта 2025
Последнее обновление: 1 марта 2025
Последнее скачивание: 6 часов назад
 5mods on Discord
This file has been approved automatically. If you think this file should not be here for any reason please report it.
These look fire keep it up!
hey mate, can you edit the standard weapon animation and make an vertical grip work animation?
HEY, love this mod. Can we also see this with the SP player protagonist in future updates?
That nice. Will any other finishing animations be performed? Like Bale, Ghost, and others?
Nice work!! @YourWelshRaptor I am not sure as I have not tested your animations in game just yet, but did you by chance add root motion to them? Root motion allows the character to move from the position in-game and not zip back to start position after the animation plays. It feels better in-game, when the character moves with the animations. Plus, if you don't mind once root motion is applied, I am willing to try to add these in game as an actual functioning takedown in my next melee combat mod pack#3! I have a tutorial that can help you with adding root motion for animations using blender and if you have questions feel free to join my discord community and we can talk about it there as well! Links for my YouTube and Discord community are attached to my profile info on here as I don't think I am allowed to post links in the comments. Overall, I am impressed with your latest animations and development quality, so keep up the good work! 🔥🐺🔥
these are great bro can you make more executions animations
@Netoxota Sorry, mate, these were projects I just mucked about with for fun; I don't have the knowledge or time to do those at the moment, so sadly not.
@Aniruddhagp The skeletons for each protagonist are entirely different, so the anim keyframes would have to be entirely overhauled manually. I know most people use their freemode peds, so I figured I would make it for those.
I'm not really an animator and made these in my spare time late last month, so I don't think I will get the time to make them for Michael/Franklin/Trevor; apologies, lad.
@Shturman_EFT I can in the future; still releasing mods I've made when I had spare time.
I can try to replicate more finishers in the future if you have a specific request (will have your Allegiance conversion request done before then, too)
@WolfFire23309 Cheers.
Want to preface this reply by saying, I am by no means an animator. I have two jobs unrelated to this sort of thing and uni to balance, so this was just a small passion project I did for fun, haha.
With the animations I have done so far, I try to get the armatures to get back to near (or at) their starting coordinates manually for the ease of people that might want to use these for their machinimas — perhaps they want to have this fight going in the background whilst they are managing other peds or objects; this makes it easy if it stays in place (plus this is how executions function in CoD anyhow).
I know I have not integrated root motion when keyframing these, but if you want to use these for your pack (which by all means do so long as I'm accredited with these anims specifically), I'll need to go back at some point when I'm next able.
@SonGoku41205 Will take some time for me to get around to doing more, but if you have a request, I'm all ears for it.
@YourWelshRaptor Well, you may not have animation work as a career, but you sure showed your passion in taking the time to animate these as it shows in how great they turned out! If you still have the project files, and export each character as fbx, I could add root motion and proper facing for gameplay via animation retargeting so you could see your work in the next combat pack, of course keeping you credited and linking your account page! Thank you for taking the time to respond, and when you come back to animation work, I will be around if you need any help improving your skills! 🔥🐺🔥
@YourWelshRaptor, I appreciate your work, BROTHER.
ok so I'm confused. menyoo is having problems so it seems with 9th gen error ????? so sadly I can't try this.
@YourWelshRaptor w
@WolfFire23309 How can I make my own skin mods? I have models available, can you teach me how to do it, I would like to get training from you?
@jackflomes Hello, unless you use 3ds max I am not really sure I can as I know most people use Blender. I do have a tutorial I made on YouTube that teaches you how to rig peds if you wish to learn that way. Just I am not too good when it comes to one on one teaching for that so you'd be better off watching a video on the process. There are plenty of Blender video tutorials online for it, but 3ds max is where there are not too many.
@WolfFire23309 Can you send me a link? tutorial videos
@jackflomes
https://www.youtube.com/watch?v=1zPuMmard4I&t=425s
https://www.youtube.com/watch?v=s8QWYPKm4d0&list=PLb81OsTOotBihVIJ1emP9EbLSKyc5Jzx6&index=5
https://www.youtube.com/watch?v=uhsCTlLtcJs&list=PLb81OsTOotBihVIJ1emP9EbLSKyc5Jzx6&index=4
Mine is the top link and the others are helpful for blender and one 3ds max vid I watched! Hope it helps you learn!